


How to Replace a Front Bumper: A Step-by-Step Guide
A front bumper plays a crucial role in both the safety and aesthetics of your vehicle. If your front bumper has fallen off due to an accident or wear and tear, replacing it might seem daunting—but with the right tools and guidance, it's something you can do yourself. Here's a step-by-step guide on how to replace a front bumper.
Tools and Materials You'll Need:
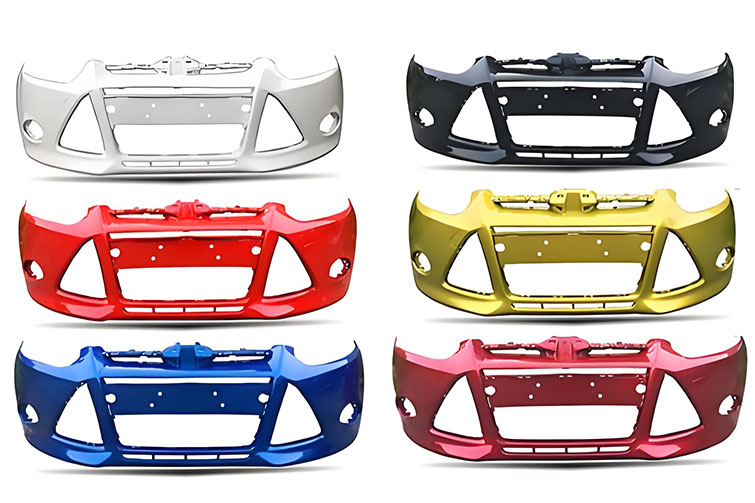
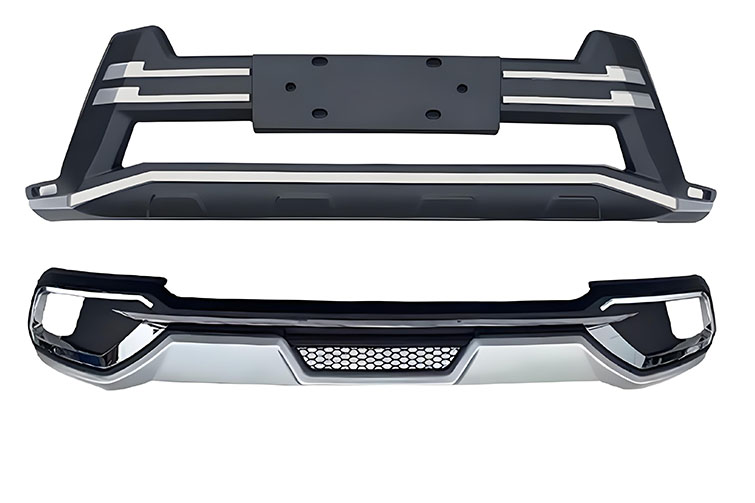
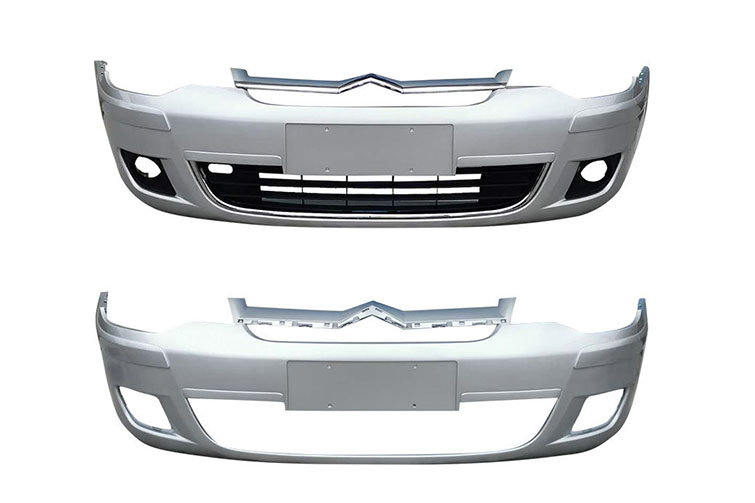
- New front bumper (compatible with your vehicle's make and model)
- Screwdrivers (Phillips and flathead)
- Socket wrench set
- Plastic trim removal tools (optional but helpful)
- Fasteners or clips (if your old ones are damaged)
- Safety gloves
Step 1: Assess the Damage
Before you begin, inspect the area where the bumper was attached. Look for broken mounting brackets, torn wiring for fog lights or sensors, or bent components. If anything beyond the bumper is damaged, you may need professional help.
Step 2: Prepare the Vehicle
- Park the car on a flat surface and turn off the engine.
- Engage the parking brake.
- If needed, jack up the front of the car and secure it with jack stands for easier access.
Step 3: Remove the Old Bumper
- Remove screws and bolts: Check along the top edge under the hood, underneath the car, and in the wheel wells.
- Detach clips and connectors: Use a trim removal tool or flathead screwdriver to carefully unclip any plastic fasteners.
- Disconnect electrical components: If your bumper has fog lights or sensors, unplug the connectors before fully removing it.
- Remove the bumper: With all fasteners detached, gently pull the bumper away from the vehicle.
Step 4: Install the New Bumper
- Align the new bumper: Hold the bumper in place and ensure it lines up with all mounting points.
- Reconnect electrical components: Plug in fog lights or sensors.
- Secure with clips and bolts: Reattach all screws, bolts, and clips removed earlier. Start from the center and work your way out for even alignment.
- Double-check fitment: Make sure everything is snug and aligned correctly.
Step 5: Final Inspection
After installation, test the headlights, fog lights, and sensors to ensure everything works properly. Check for any loose areas or gaps.
Conclusion
Replacing a front bumper is a manageable DIY project with a little patience and attention to detail. It can save you time and money compared to a body shop visit. However, if you're unsure or if other components are damaged, it's always best to consult a professional mechanic.
Related Posts
How to Choose the Right Car Bumper: A Complete Guide
Jul 22, 2025